DIY Wireless Leverless Controller for Steam & Switch Using 100-Yen Shop Materials and Key Switches (Part 1: Introduction & Material Selection)
 Admin
Hello! I finally built something I've wanted for a long time: a fully wireless, multi-platform leverless controller.
In this article series,I will share the DIY journey of building the ideal wireless leverless controller from scratch—padhacking a broken Switch controller PCB suffering from stick drift, using 100-yen acrylic sheets, Tamiya plastic parts, and standard logic ICs—over a multi-part series.
I stuck to strict rules: no off-the-shelf custom controller PCBs, and craft everything from raw materials except for the key switches and button caps. This project is packed with technical trial and error.
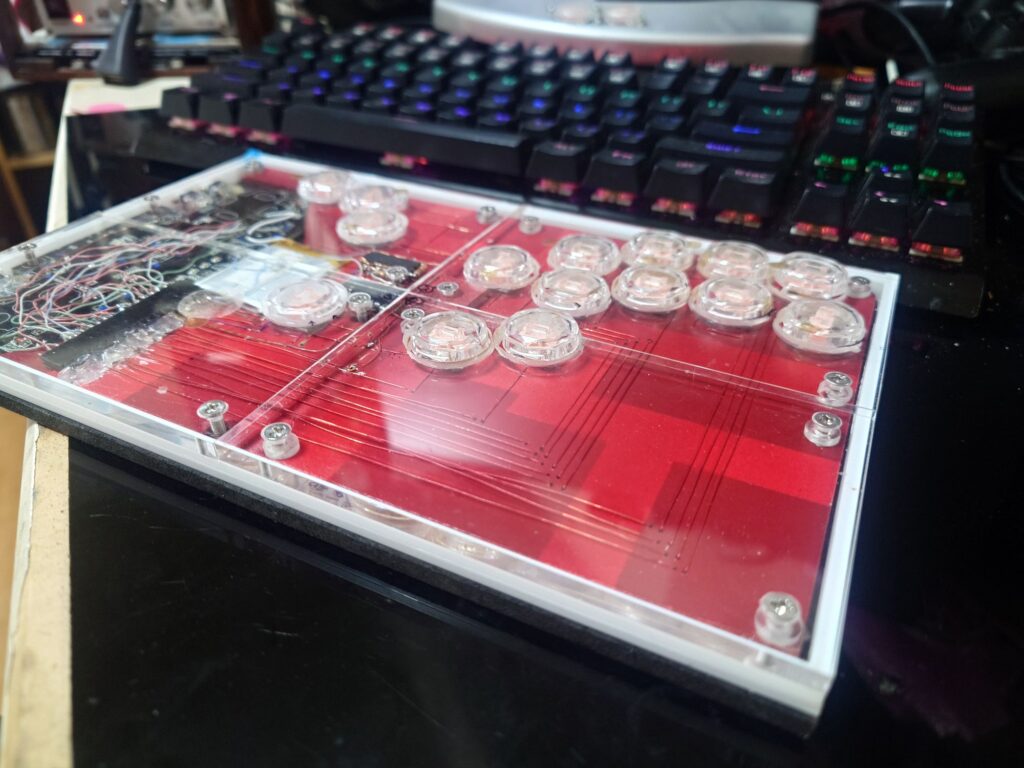
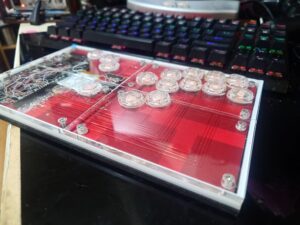
[Photo of the completed leverless controller]
How It Started: A Fighting Game Passion Born from "SF4" with My Son and the Switch to Steam
The spark for this leverless build project came from how our home gaming environment evolved.
It all started back when my son was in 2nd grade, when I bought Street Fighter IV (SF4) for just a 500-yen coin and we started playing together. Back then, I loved watching my young son happily pull off Raging Demon command inputs—it's still one of my favorite memories.
Fast forward to recently: we picked up Ultra Street Fighter IV (USF4) for another 500 yen, and our fighting game passion reignited instantly. I dusted off an old arcade stick (made by Sanwa Supply) that I had bought years ago at a Hard Off in Kurume for 1,500 yen and had sitting unused. When I hooked it up, it worked wonderfully! The clatter of joystick levers returned to our household.
I wanted to get SF6, intending to buy it on the upcoming Switch 2, but my son—now a 6th grader who gathers all kinds of gaming news on YouTube—came to me with some serious advice:
"If you're playing fighting games, PC (Steam) is definitely better—there's no frame drop or lag!"
Spurred on by his words, I impulsively bought the PC version of Street Fighter 6 (SF6) Year 1 & 2 Pack for about 5,000 yen. Together with my son, who has fought alongside me since 2nd grade, we jumped into the latest title on Steam—the ultimate setup. This intense drive—"I want to play the latest game in the best environment, and on a modern leverless controller!"—became the driving force behind this scratch-build project.
Three Technical Challenges Undertaken in This Build Project
In executing this custom build, this blog series will connect all the dots from the various testing and design concepts I previously shared individually, covering the following points:
- Preliminary Modding of an Arcade Stick to Validate Construction Methods"Pre-emptive Arcade Stick Modding"
To verify if the techniques I brainstormed for this leverless would hold up under actual gameplay, I used the 1,500-yen arcade stick from Kurume to perform durability testing by adding extra buttons (expanding to 11 buttons and adding a thumb Drive Impact button). - [First Reveal]Full Validation of an SOCD Cleaner Using "74HC132" Logic ICs!
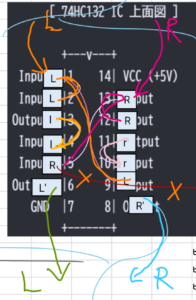
At the climax of this series, I will take the custom SOCD cleaner circuit—which utilizes two standard 74HC132 logic ICs and was previously detailed in a theoretical blog post—and actually install it into this controller. Although physical contact issues on Vcc (power supply) gave me a massive headache during assembly, once overcome, it worked 100% perfectly according to theory!I will share this exciting outcome for the first time in the final part of this series.
It Started with 100-Yen Materials: The Final Parts List
The key switches I bought from Kaho Parts had been sitting in a drawer while I deliberated over the case design. But the moment I found an acrylic panel of perfect dimensions at Seria (a 100-yen shop), the design process kicked off with the decision to use it as the top plate. After upcycling a broken controller and obsessing over layout aesthetics, here is the final list of parts gathered through trial and error.
Main Parts List for the DIY Leverless Controller
Except for the key switches and button caps, the entire housing, top plate, wiring, and circuits were crafted and cut out from the materials below.
| 部材名 | 数量 | 調達先・備考 | 実際の費用(税込) |
|---|---|---|---|
| 乗っ取り用基板 | 1枚 | スティックがドリフトして直らなくなったSwitch用コントローラー(流用) | ¥0 |
| キースイッチ | 15個 | カホパーツセンター(Kailhロープロファイルv1ピンク/なぜか激安) | ¥900 (1個¥60) |
| ボタンキャップ | 15個 | コズミックノイズ(20.8mmクリア/安くなってた!) | ¥1,350 (1個¥90) |
| 天板パネル | 4枚 | セリア(Seria)アクリルパネル | ¥440 (1枚¥110) |
| 内蔵基板 | 1枚 | セリア(Seria)MDFクリップボード(3mm厚) | ¥110 |
| 底面パネル | 1/2枚 | 市販MDFボード(¥100で購入。2枚取れるので半分は2号機用へ) | ¥50 (実質) |
| 空間確保用の壁 | 2本 | タミヤ 3mmプラスチック角棒(中空) | ¥396 |
| サブボタン | 4個 | 市販のタクトスイッチ | ¥100 (1個¥25) |
| サブボタン連動パーツ | 少々 | タミヤ 5mmプラスチック角棒(ソリッド)※家にあった端材を2cm流用 | ¥0 |
| 内部調整用プラ板 | 少々 | 1.2mmプラスチック板(手持ちのストックを流用) | ¥0 |
| 固定ネジ | 20本 | M3-16mm 低頭ネジ(ハンズマンのバラ売り:20本で¥340) | ¥340 |
| 固定ナット | 16個 | M3 ナット | ¥100 |
| スペーサー | 16個 | M4 ナット(手持ちパーツを流用) | ¥0 |
| 配線用 真鍮管 | 1本 | ハンズマン(約10cmほど使用) | ¥500 |
| 配線用 エナメル線 | 1巻 | 0.32mmエナメル線 | ¥380 |
| 20PINコネクタ(オス) | 1個 | 基板着脱用中継コネクタ | ¥120 |
| 20PINコネクタ(メス) | 1個 | 基板着脱用中継コネクタ | ¥140 |
| SOCD用IC | 2個 | 汎用ロジックIC「74HC132」 | ¥200 (1個¥100) |
| プルアップ抵抗 | 4本 | 10kΩ抵抗 | ¥32 (1本¥8) |
| 合計金額 | 総額 ¥5,158 |
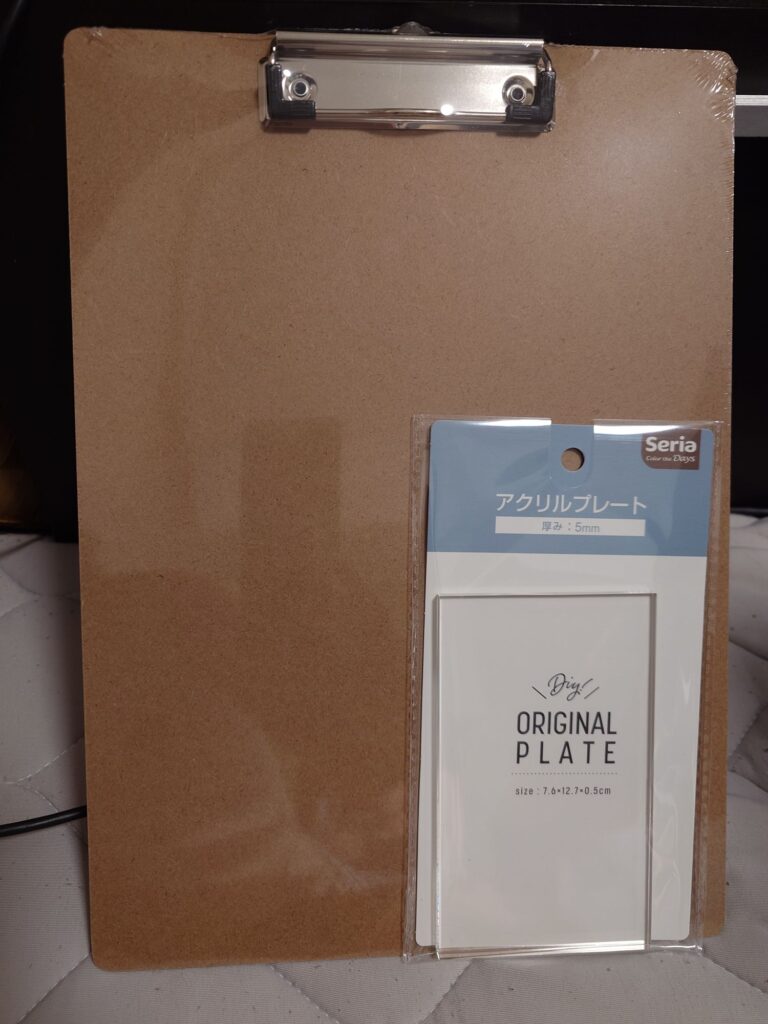
The incredible 5mm thick acrylic plate from Seria. For the base plate MDF, after trying many options, I landed on this 3mm clipboard.
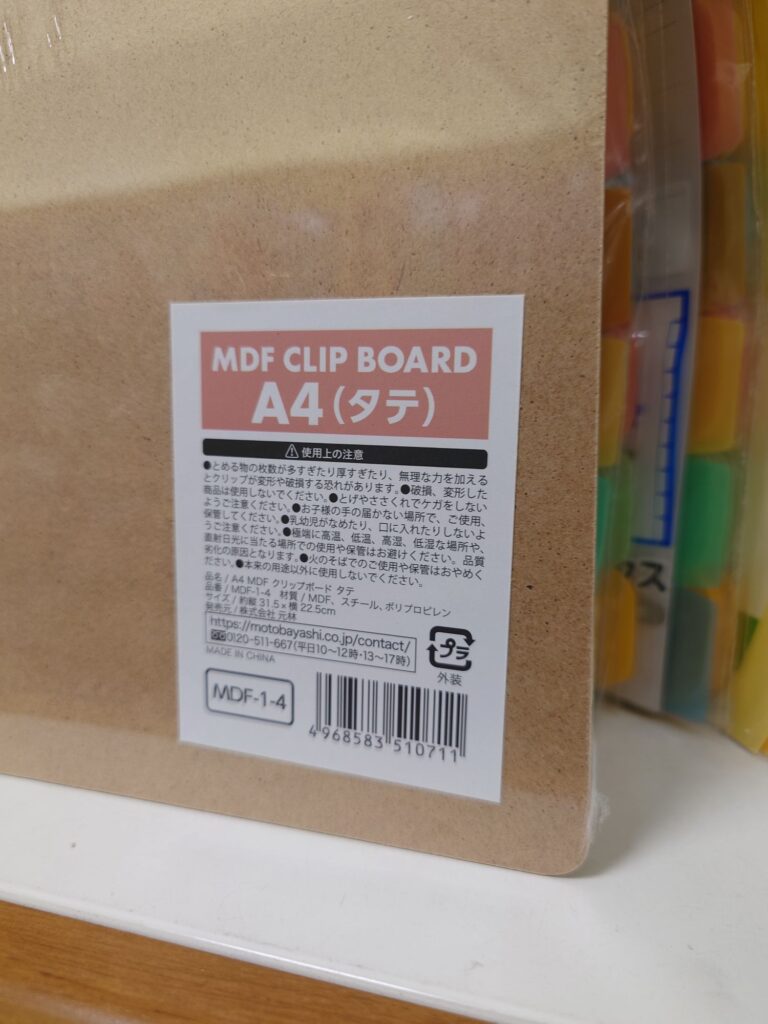
Product details for the 3mm MDF clipboard.
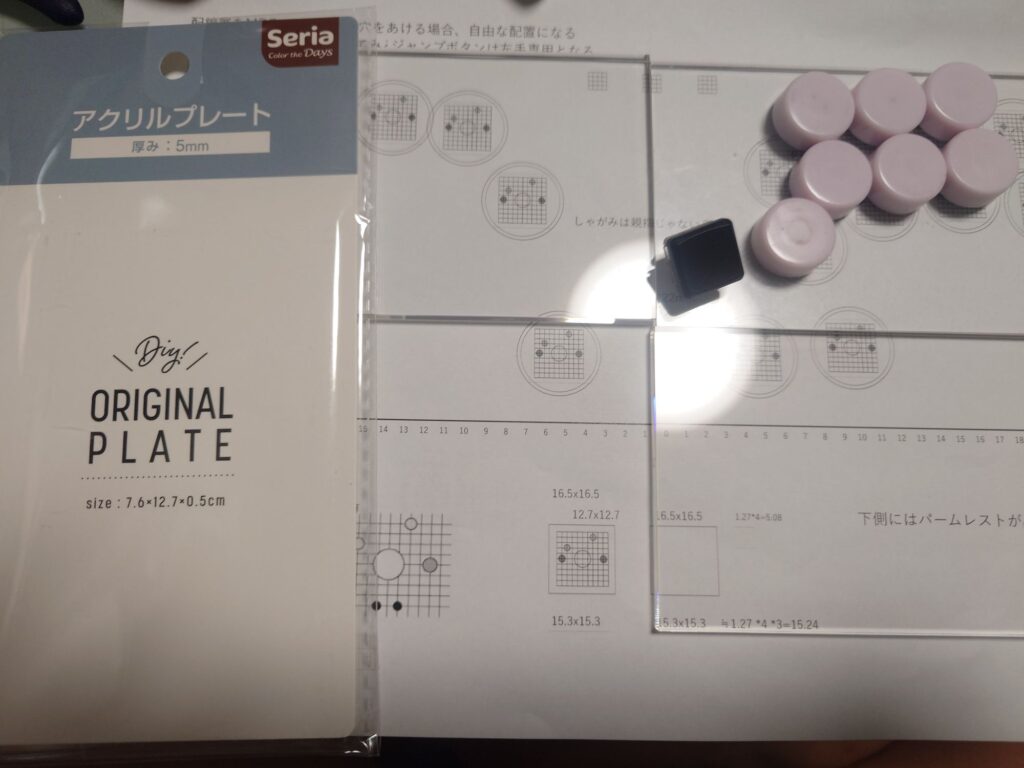
Initial draft concept using four acrylic plates. At first, I even planned to make custom buttons from UV resin by shaping magnets, making silicone molds, and casting them. Due to cost and time, I opted for commercial caps, but to push for the ultimate build, I plan to make custom buttons for Unit #1 after finishing Unit #2.
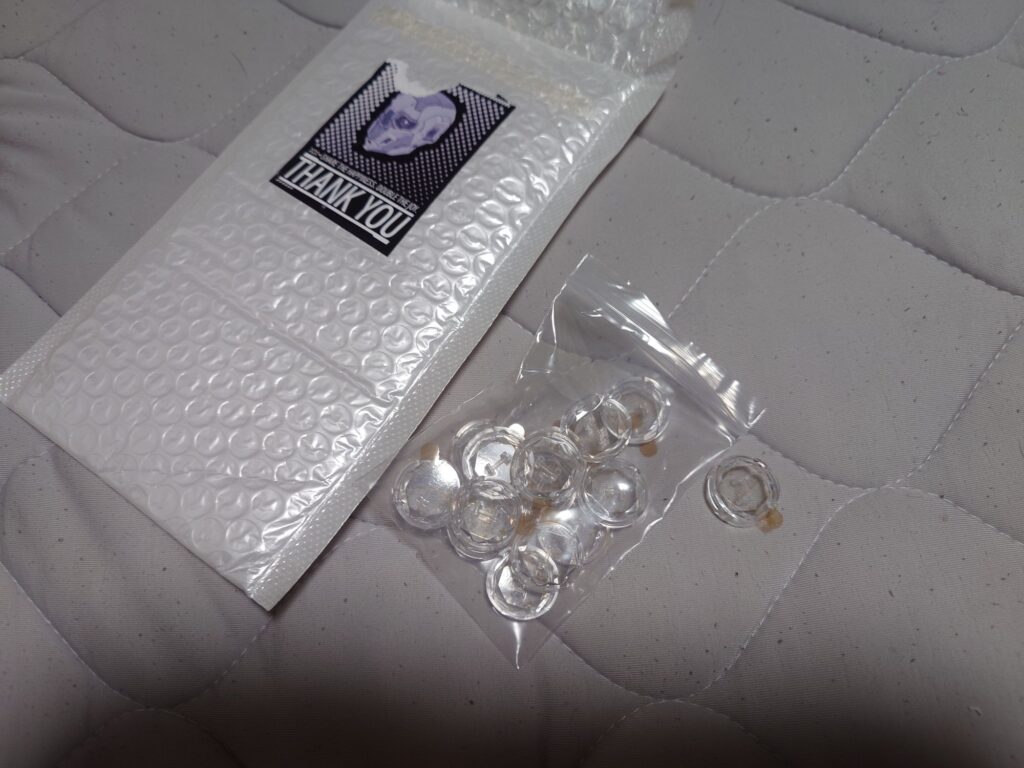
They were selling for 90 yen each, so buying them was much easier and cost about the same as making them with UV resin. I got 15.Cosmic Noise
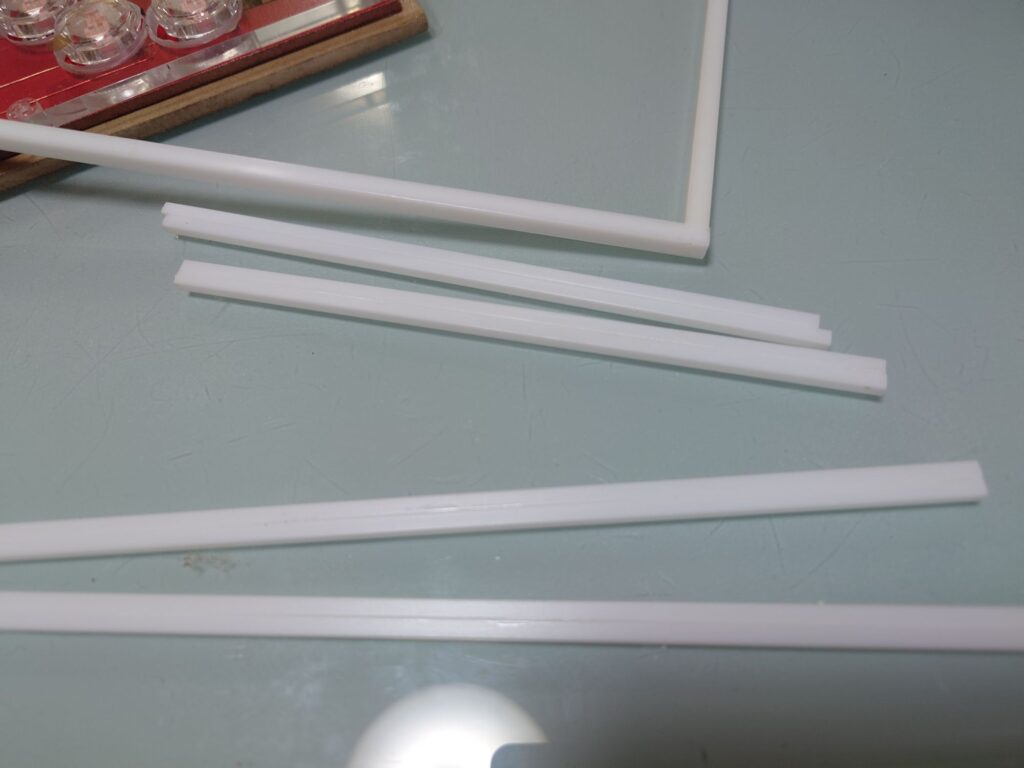
Tamiya 3mm plastic plates stacked to 6mm serve as the outer frame and pillars. This sets the internal height between the top and bottom plates.
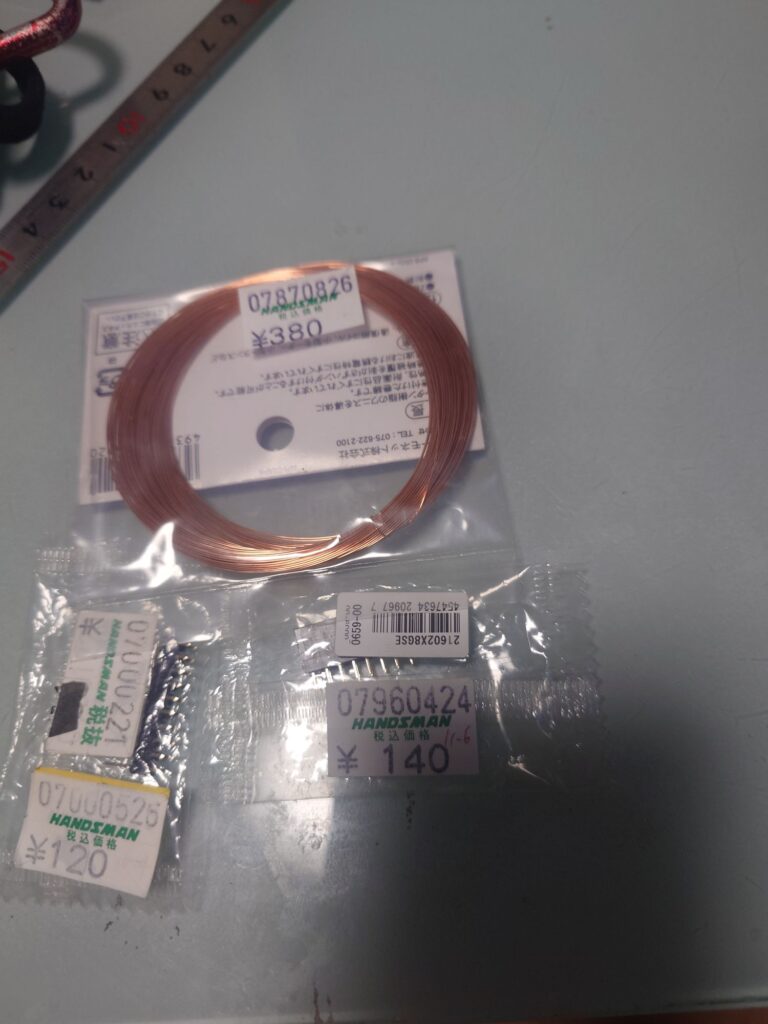
Enamel wire for main wiring and the SOCD circuit, plus male & female connectors.
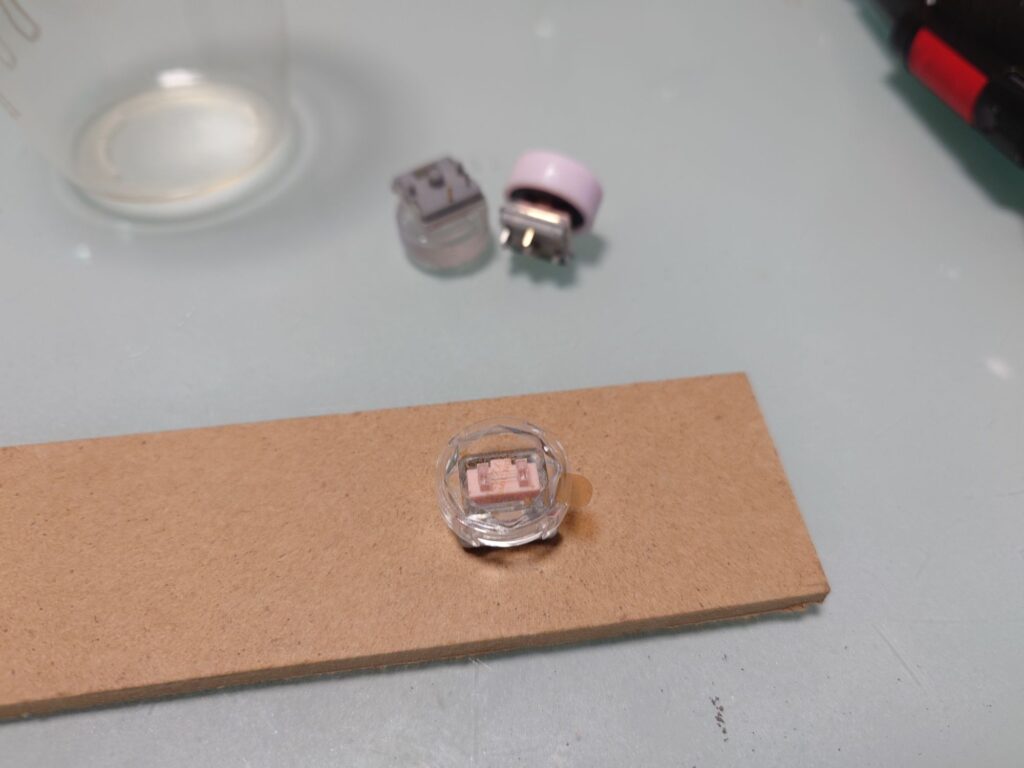
Kailh Low Profile V1. These feature a "pig nose" stem shape and seem designed for arcade buttons, with a unique pin layout. Thus, they aren't compatible with standard switches. V2 uses standard cross-shaped stems and common pin layouts, giving more freedom in choosing caps. The photo above shows test holes drilled into MDF for pins and alignment posts to check the process.
Millimeter-Precision Struggles and Priorities in Material Selection
The list looks simple, but once I started gathering materials to build, plenty of real-world DIY solutions and traps were waiting for me.
- Riding the Bargain Wave at Kaho Parts and Cosmic Noise
For the key switches—the heart of any leverless—I grabbed "Kailh Low Profile V1 Pink" switches, which were surprisingly cheap at Kaho Parts Center. For button caps, I scored fifteen 20.8mm clear caps on sale at Cosmic Noise. This allowed me to acquire the core components on an insanely low budget. - Selecting MDF for the Internal Plate and Bottom Base
For the internal mounting board, a 3mm MDF clipboard from Seria was a massive success, offering great strength and workability. However, when I picked a commercial MDF board labeled "6mm thick" for the bottom plate, measuring it with calipers revealed it was actually only 5mm thick (lol)! I was shocked by that 1mm discrepancy. - Creating Enclosure Walls with Tamiya Plastic Beams
To create the perimeter walls for internal clearance (depth), I stacked Tamiya 3mm hollow square plastic beams in two layers. For the plunger mechanism of the four sub-buttons (tactile switches for menus), I cut and fitted pieces of Tamiya 5mm solid square plastic beams. - The 1mm Screw Battle
I originally planned to use 15mm truss screws to secure the enclosure, but during assembly, I discovered they were 1mm short! I hastily switched to M3 16mm low-profile screws. However, options for low-profile screws at that awkward 16mm length were limited, making them a bit pricier than expected... By combining these with M3 nuts and repurposing 16 existing M4 nuts as spacers, I finally achieved the perfect clearance.
All the pieces are in place. In the next post, I'll share actual work photos showing how I designed the button layout on Seria's acrylic panel and processed the prone-to-cracking acrylic material in "Part 2: Design, Acrylic & Case Fabrication"—stay tuned!