
ND Roadster Kayak Tie-Down Modification: Utilizing the Trunk Base Cover Mounts
 Admin
I carry my kayak on my Roadster, and I finally decided to try an idea I've had in mind for a while: running the tie-down ropes through the plastic cover area at the base of the trunk. This spot was originally designed as a mounting point for the factory hardtop (which never actually ended up being released).
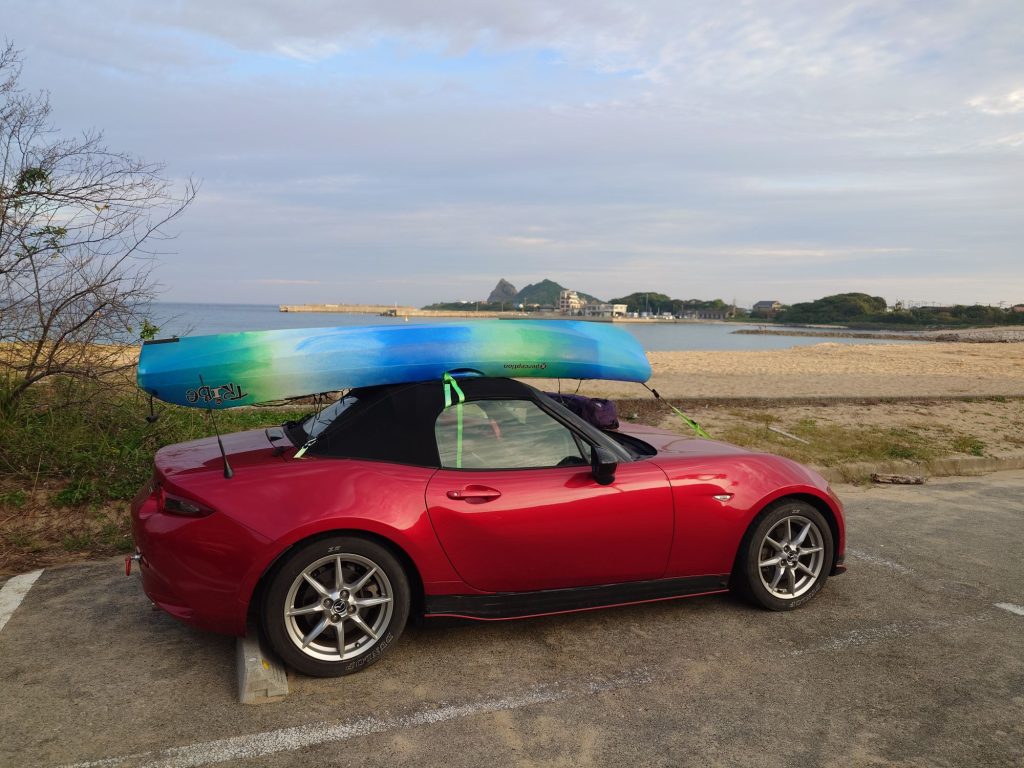
Here is the finished setup. It turned out absolutely perfect.
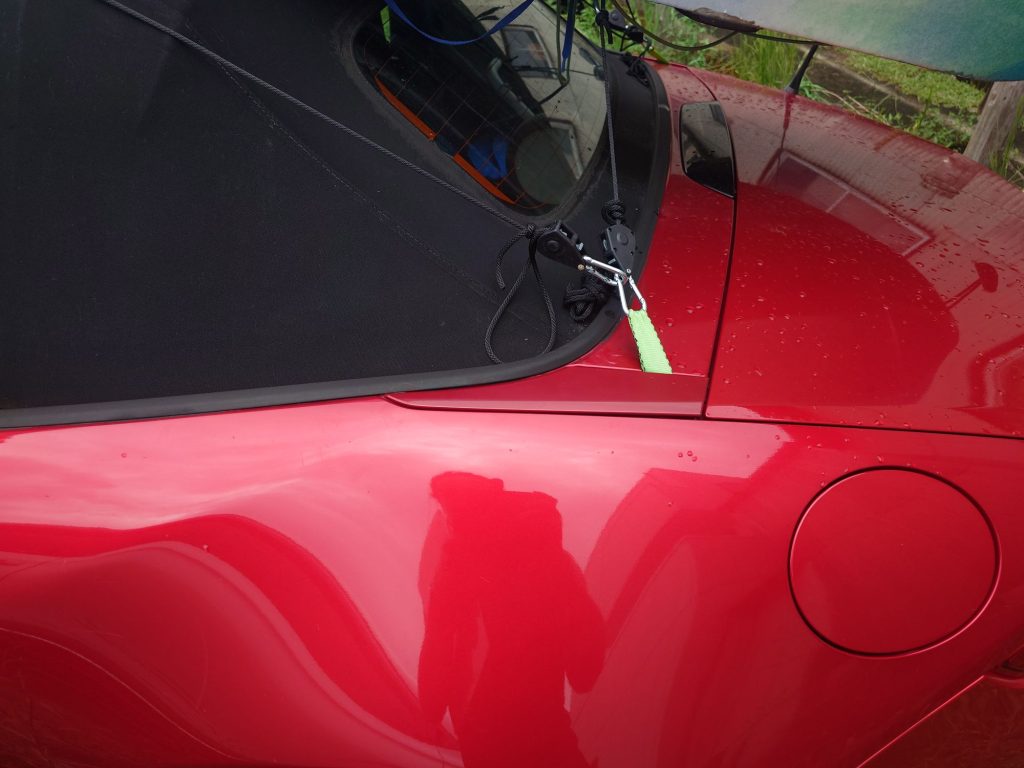
Previously, side-to-side stabilization relied entirely on a single green strap in the center, which allowed the kayak to wobble slightly left and right. Adding these new side tie-down points completely eliminated the body roll, making the setup rock-solid. Best of all, these factory covers are fully functional and designed to pop right open.
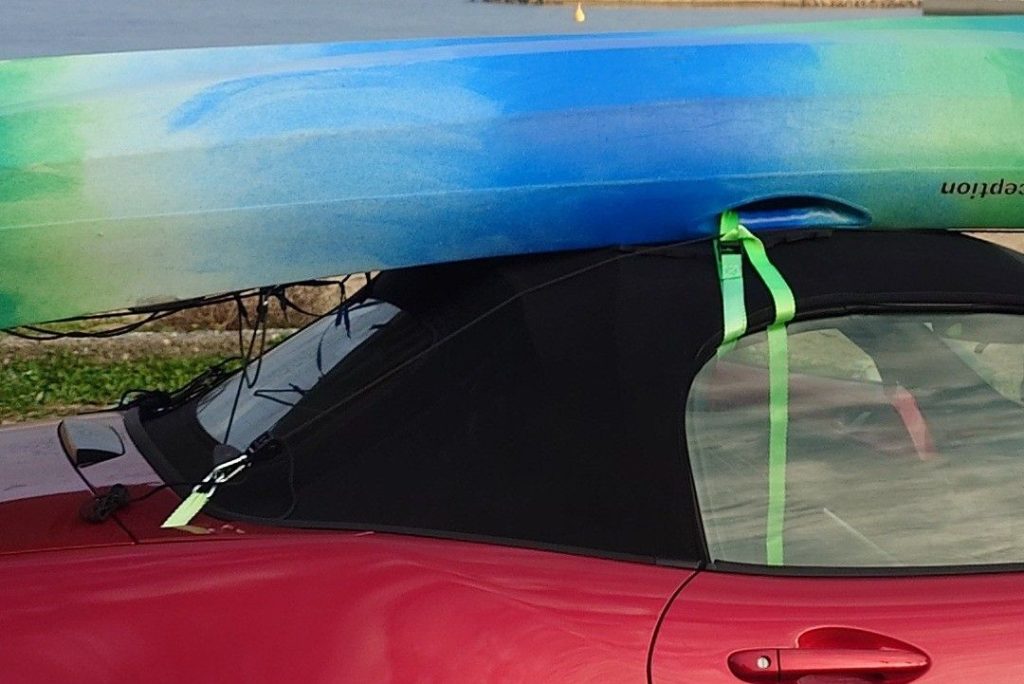
By securing the front section of the kayak from this identical location and pulling it backward, I completely eliminated the need for the long safety strap I used to run all the way down behind the rear bumper. This modification makes loading and securing the kayak significantly faster and much easier.
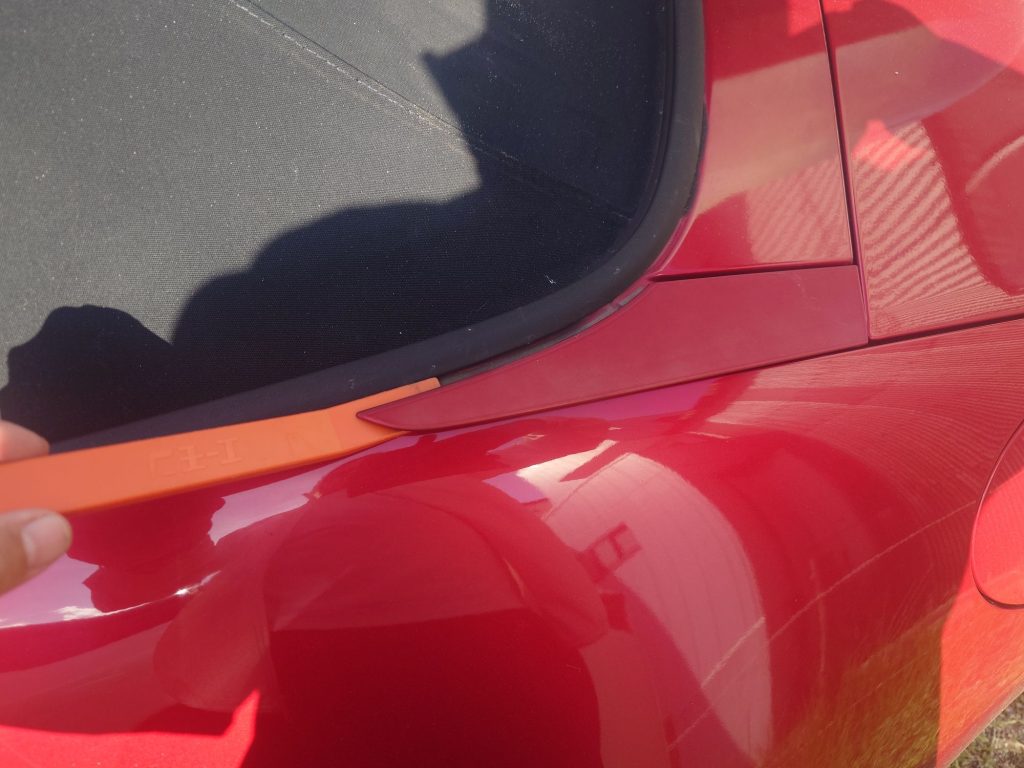
To remove the cover, you need to clear the double-sided tape holding the very tip down. Just behind that tape sits a vertical alignment pin, and further back is a horizontal locking tab. The initial goal is to carefully break the tape loose and release the vertical clip without bending the plastic.
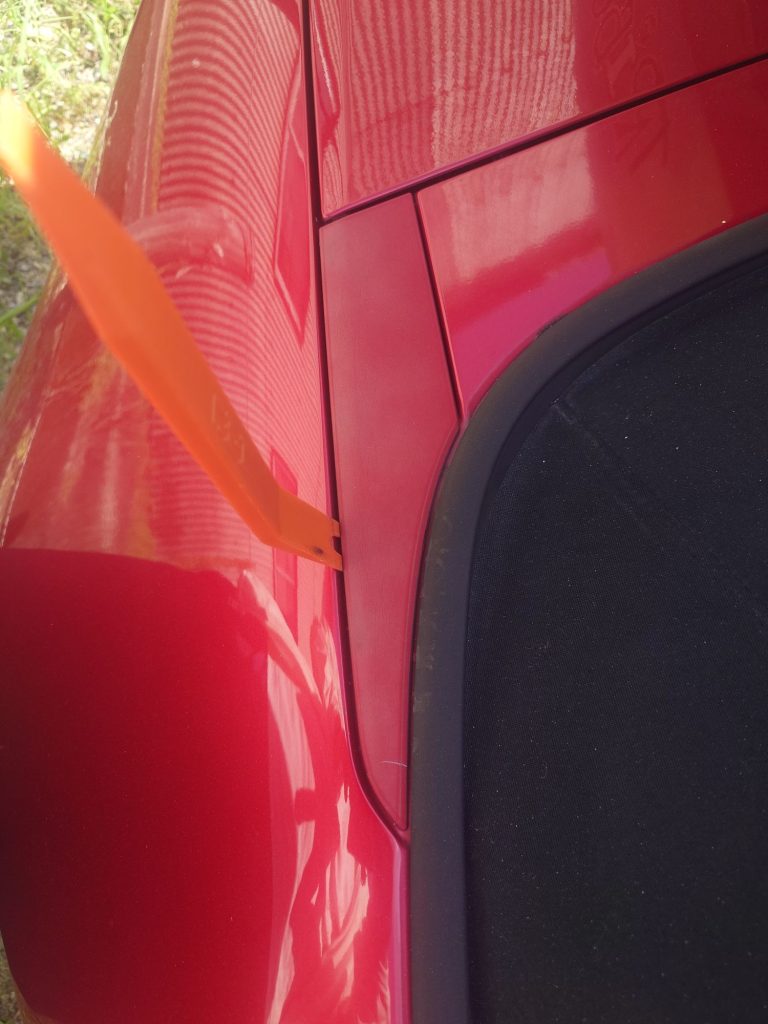
I worked a trim tool in from the side, gently prying to separate the old adhesive. Since the car is 10 years old, the factory glue had already degraded a bit. The left side popped off easily because I had messed with it before, but the right side was seized tight and snapped right off. You definitely need to take your time and be extremely careful here.
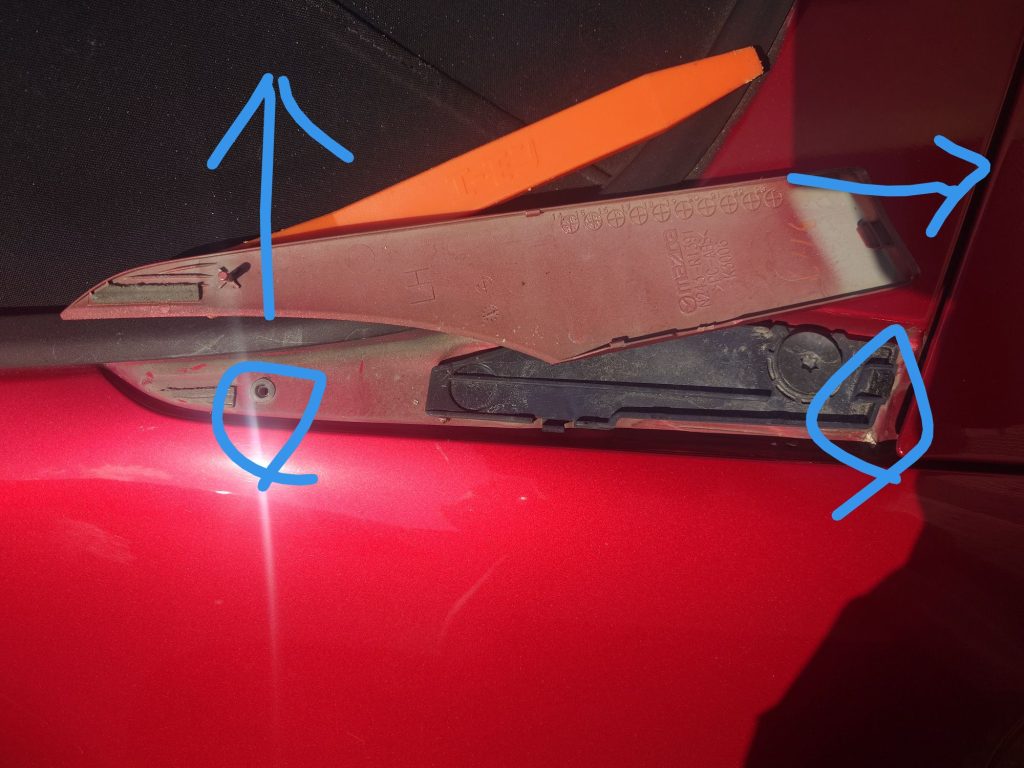
Here is the left side with the cover completely removed. On the left is the vertical pin, and on the right is the horizontal sliding hook. The proper technique is to crack the trunk open slightly and then pull the cover horizontally backward to slide it out. The factory double-sided tape is only applied right in front of the pin.
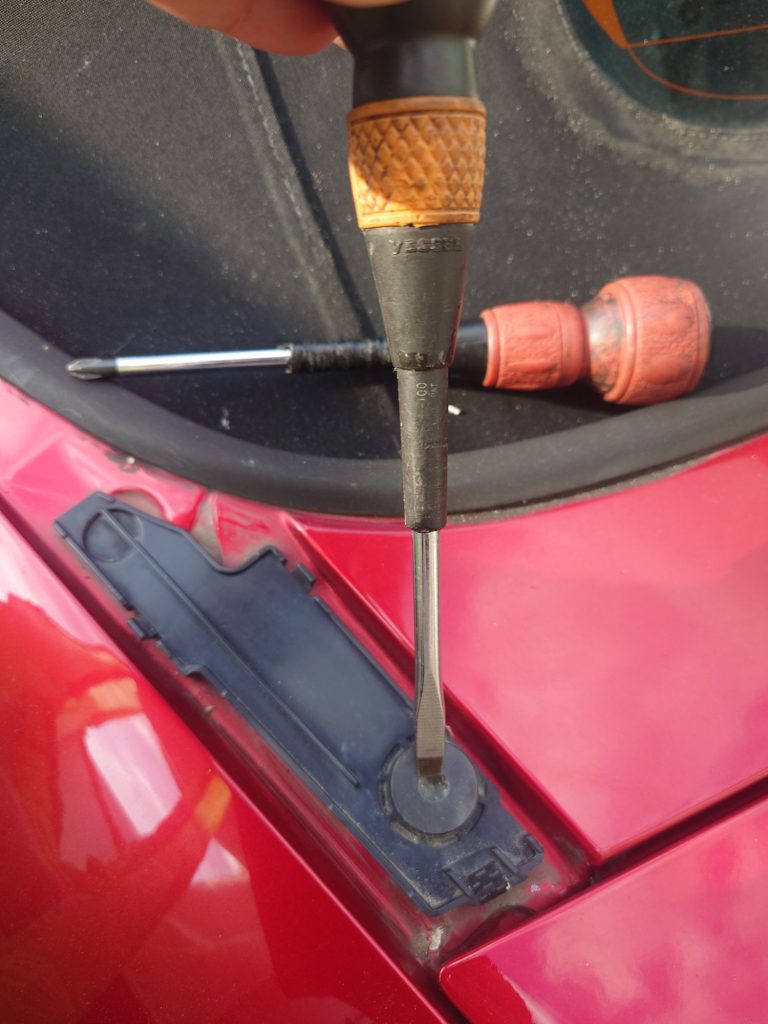
Underneath the cover, there is a large, wide-headed bolt. It looks like it requires a massive specialized Torx tool, but it wasn't torqued down very tightly at all. I was able to back it out easily using a standard flathead screwdriver I had on hand.
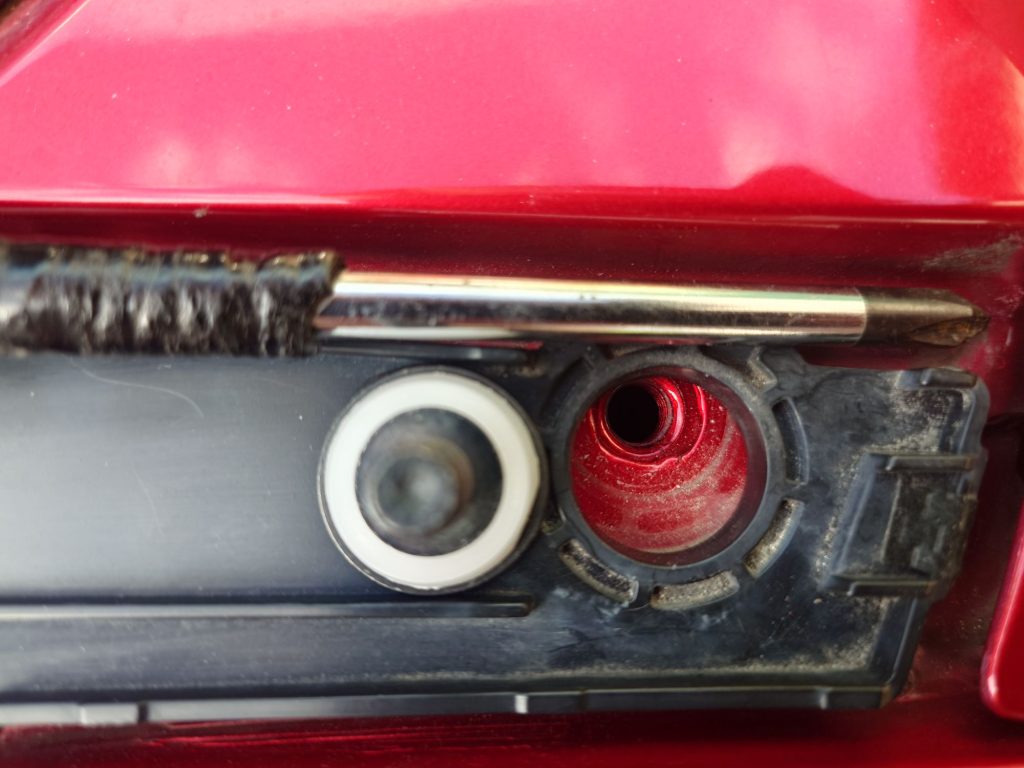
It's a surprisingly hefty bolt—I believe it's an M6 thread. I tried using the Phillips screwdriver shown at the top of the photo, but it couldn't grip the pattern at all. This bolt location is where we will be securing the custom fabric tie-down loops.
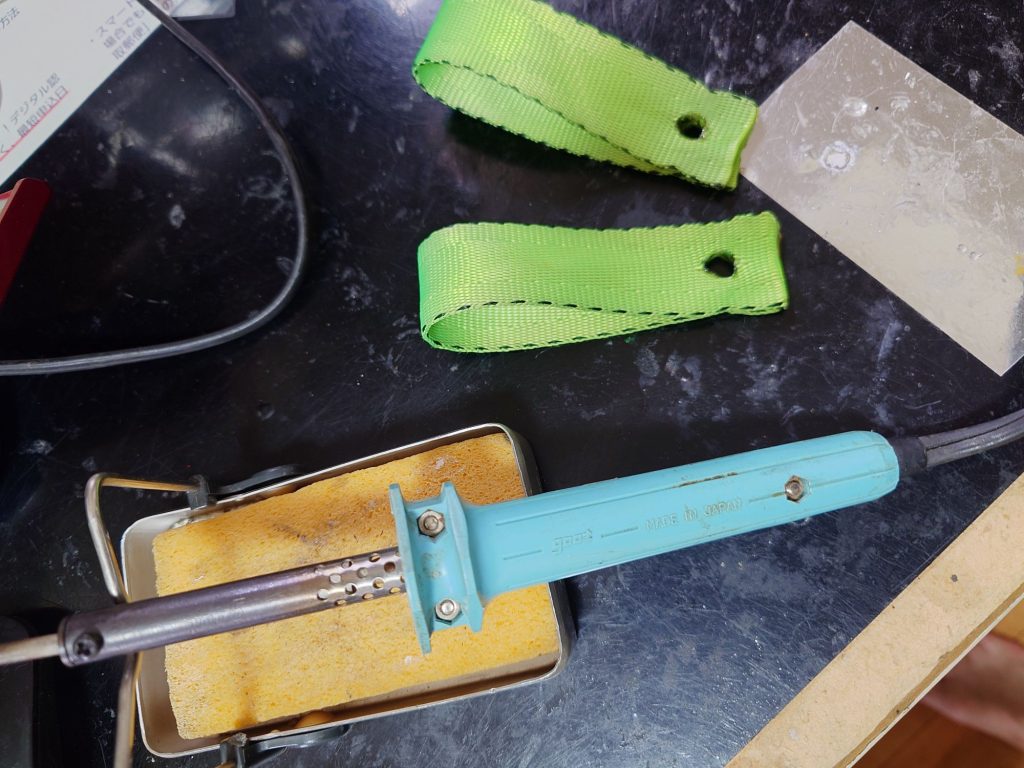
I took a long cargo strap that I used to use for the rear tie-down, cut it to length, and singed the raw edges with a lighter to prevent fraying. Then, I folded the webbing over, pierced it with an awl, and used a soldering iron to melt and cauterize the hole so it can act as a permanent, heavy-duty mounting eyelet for the bolt.
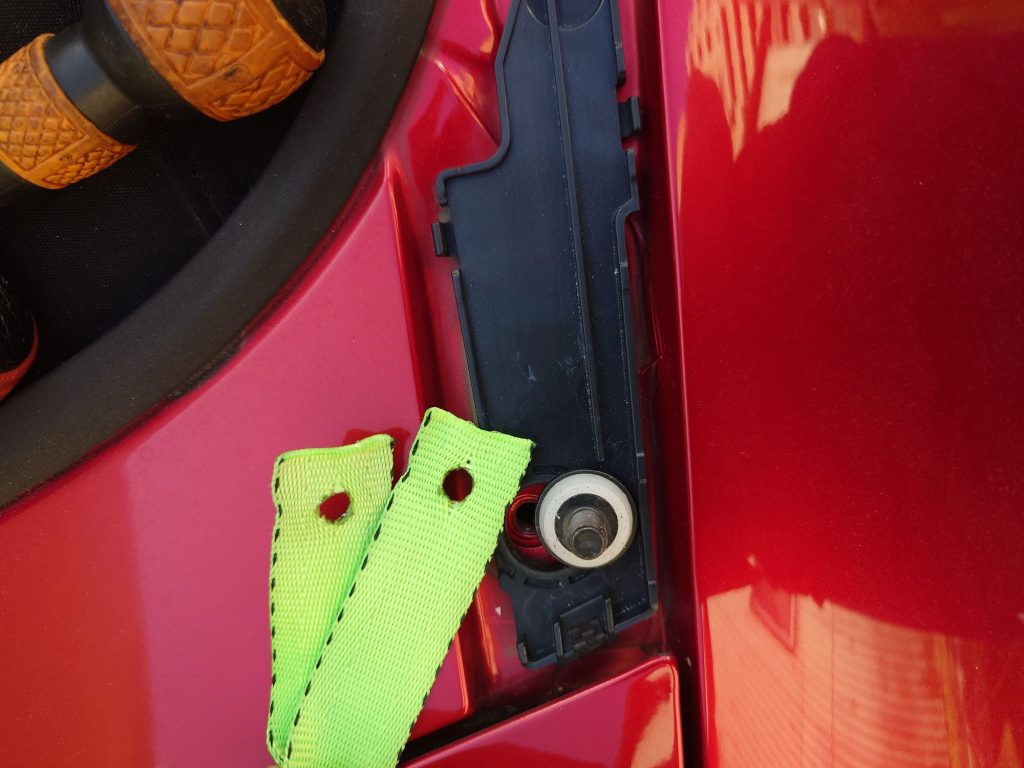
I left the factory plastic housing in place and bolted the custom strap straight down. The wide head of the bolt provides excellent surface area to clamp the webbing securely. The lower black trim piece felt a bit loose, but since I didn't fully understand its clip layout and didn't want to snap it, I decided to leave it as-is.
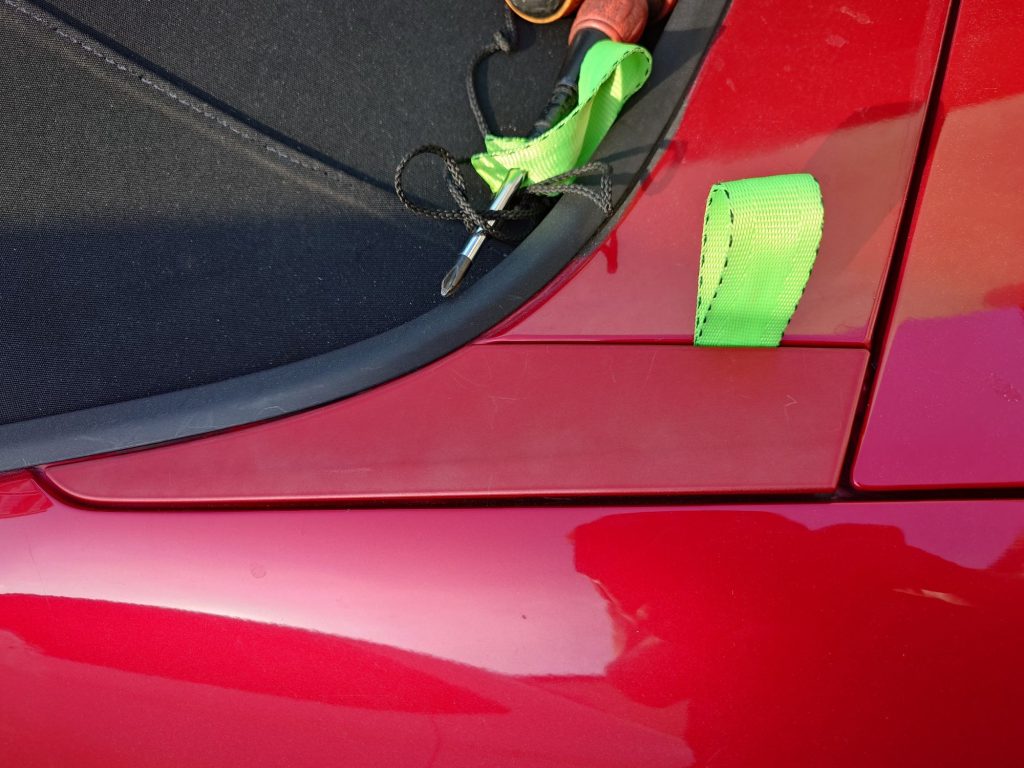
After snapping the painted cover back into place, the finished anchor loop sits nicely like this. I debated using metal hooks, but soft fabric straps don't create sharp exterior protrusions, meaning they should pass vehicle inspection without any issues. The plastic covers themselves tend to clear-coat crack over time due to UV exposure—after all, it's been 10 years (even though driving it always feels so fresh that I forget how old it is). Since the right side broke during removal, I resprayed it in my room. Painting indoors made it impossible to match the lighting properly, so the final shade came out completely different from the rest of the car.
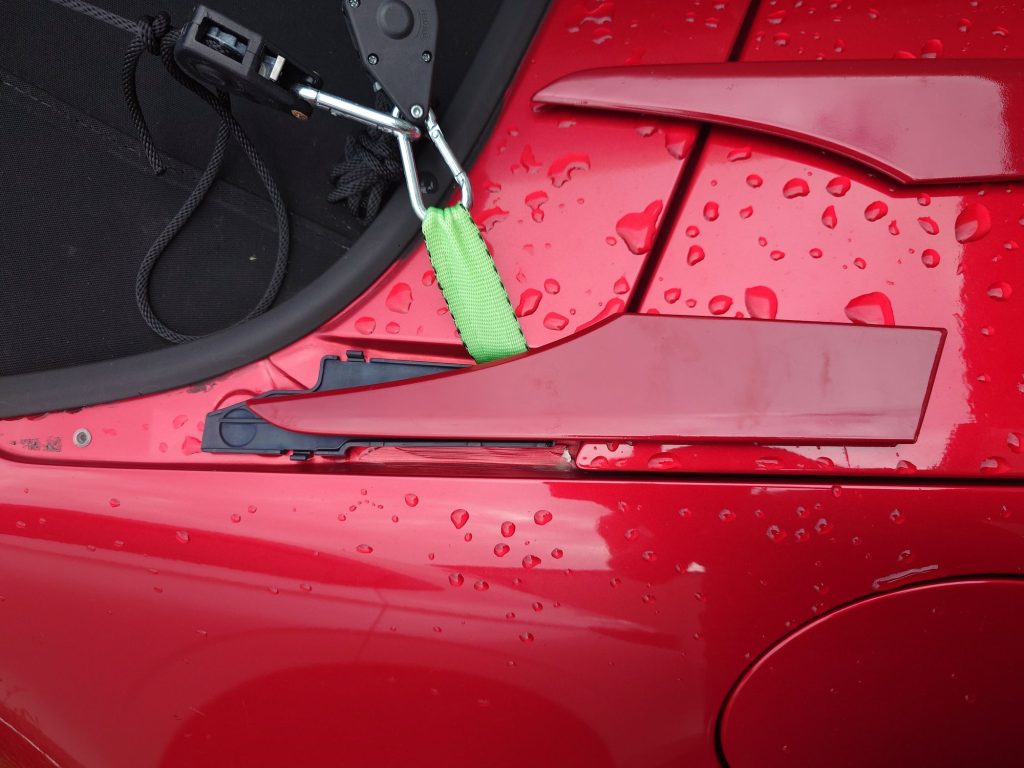
Having a solid anchor point right here opens up endless possibilities. After plenty of trial and error, I settled on the layout I described earlier, pulling simultaneously outward for lateral stability and backward for rear security. This is the newly repainted cover—I sprayed it indoors, so the metallic flake and color matching are way off under direct sunlight.
This is a slightly longer version of the fabric loop, customized just enough to easily clip a carabiner through. The black cam-buckle ropes are a cheap set I grabbed on Amazon—I think it was around 1,750 yen for a pack of four. The massive, heavy-duty tie-downs I used to own mysteriously vanished; I suspect the balcony renovation crew might have accidentally packed them up when clearing the workspace.
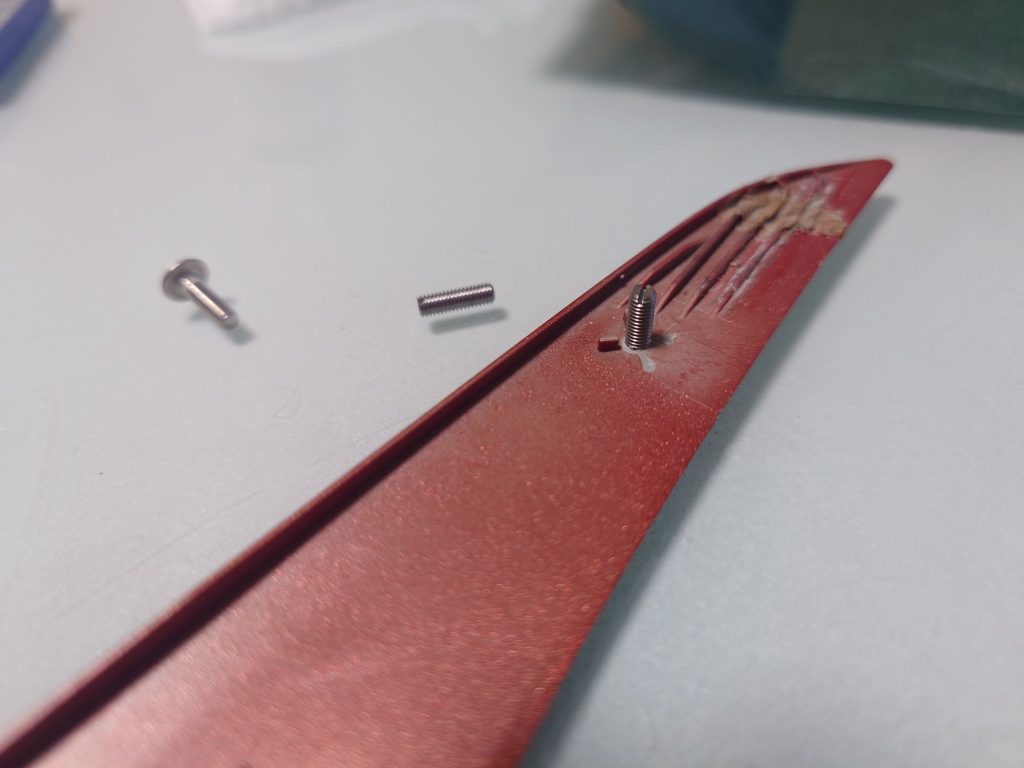
On the right side, the alignment pin snapped off completely at the tip—apparently a very common failure on these models. I found a headless set screw of almost identical diameter and used it as a reinforcement core. I didn't snap a photo of the process, but I bent a metal paperclip into a wavy zig-zag pattern, heated it up with a lighter, and used a soldering iron to deeply embed the hot metal straight into the broken plastic tabs to weld the structure back together. Afterward, I smooth-filled it with body putty, sanded it down, and finished it with a touch-up spray can.
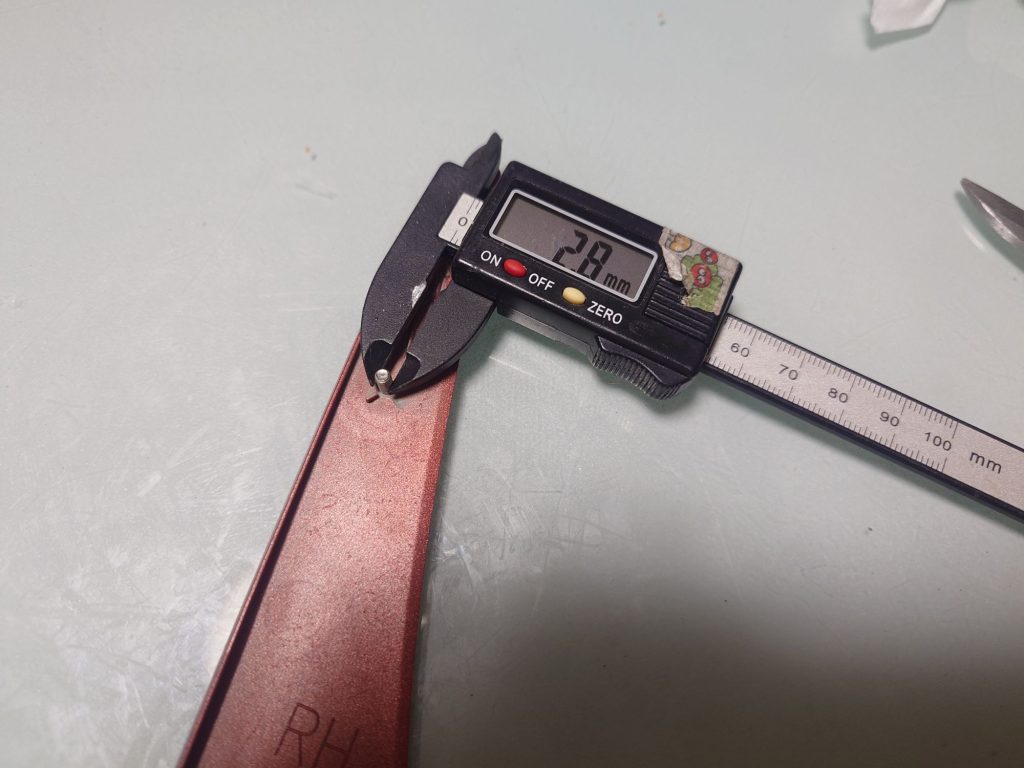
The caliper display reads 2.8mm, but the actual thread size is a standard M3 pitch.