Carburetor Overhaul: Troubleshooting a Stubborn Brushcutter Engine
 Admin
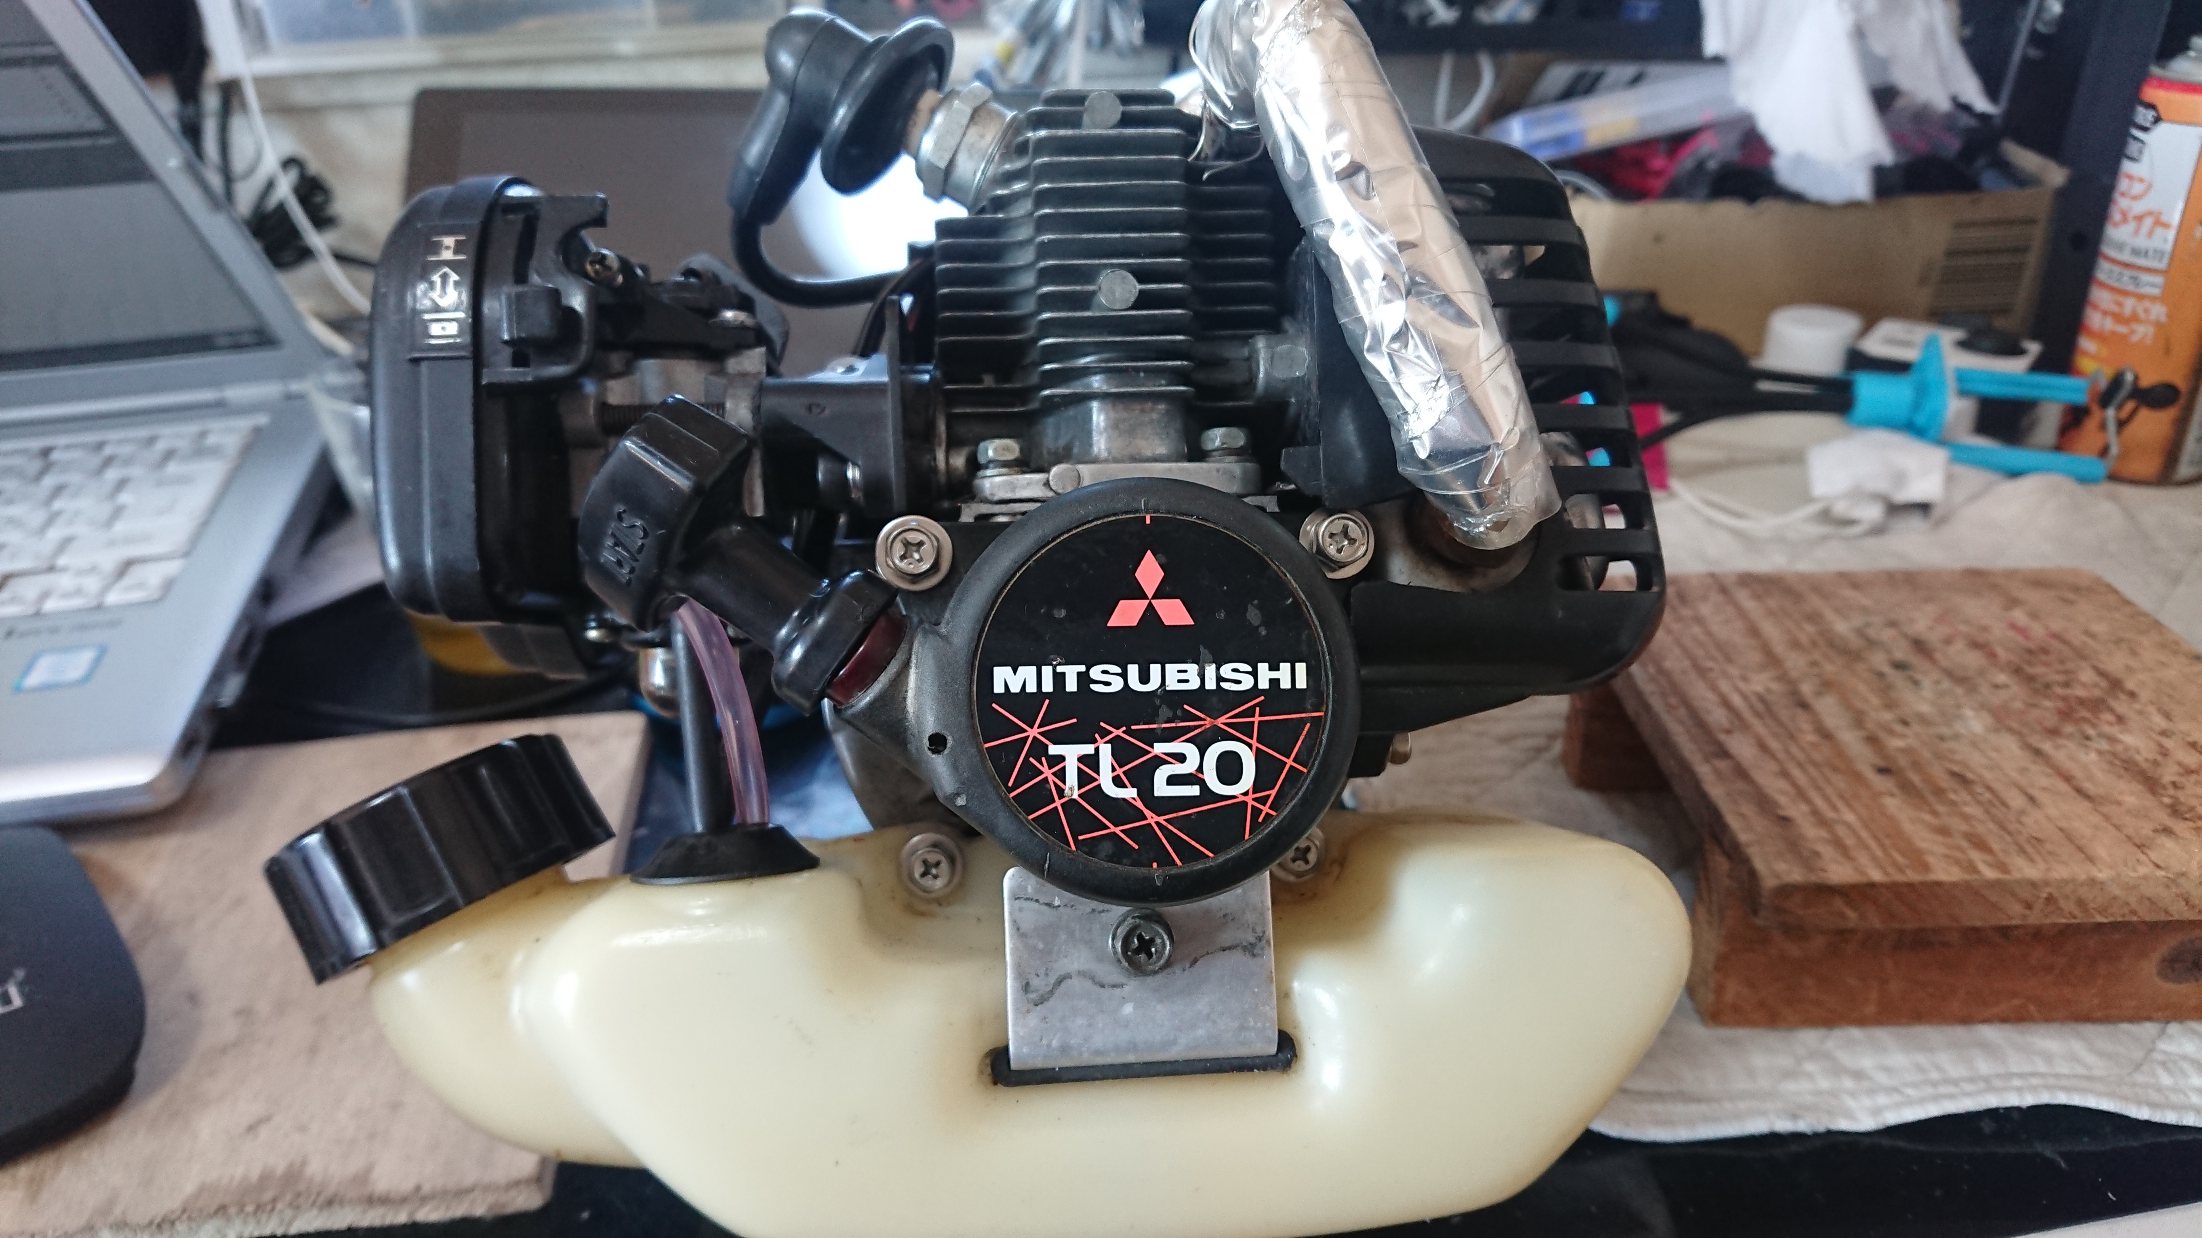
This is a story about me tinkering with a brushcutter engine, partly to learn how 2-stroke engines work and partly to eventually use it as a motor for my kayak.
Last time, I replaced the piston rings, but that didn't fix the issue at all. No matter how many times I pull the recoil starter, the engine just won't start.
So, I decided to give the carburetor another overhaul. If this doesn't work, I might just buy a brand-new Walbro carb on Amazon for around 2,000 yen.
Carburetor Overhaul (Round 2: After sitting unused for about a year)

Walbro carbs are used in all kinds of equipment like brushcutters, pocket bikes, and go-karts, so there are plenty of overhaul guides online. It's held together completely by just four screws. I removed all of them, took off the primer pump section, and then removed the part right above it. What's left on the main body is the metering diaphragm.

Skipping past the metering diaphragm, I split the upper section. There's a thin gasket and a thick gasket. The thick gasket side looks less like a standard gasket and more like a structural component that helps form the gasoline passages. Gasoline circulates around between the lower and upper parts of this gasket.

Here's the upper side of the part that had the metering diaphragm attached. It was completely covered in sticky oil. I thought it was clean since I overhauled it last time, but I probably left it sitting for about a year after tinkering with it using a 2-stroke oil and gasoline mix. The oil and gas likely separated in the tank, or the gas evaporated, leaving behind a sludge of thick oil. When I tried to start the engine this time—and it barely fired up once—it must have sucked in and pooled that separated oil. I noticed later that the fuel filter was also full of sludge, so I replaced it. This goopy oil was probably blocking the fuel passages and causing a lean condition. No good! I actually made it worse after being given this engine. I cleaned it thoroughly with parts cleaner.

This is the underside of the previous part, right after peeling off the metering diaphragm (the item to the left of it). I removed the tiny parts underneath and cleaned them up. There's a precision spring, a rocker arm, and a needle with what looks like a rubber tip. It seems to use the crankcase vacuum to move the metering diaphragm, pressing against this rocker arm to suck in fuel in sync with the 2-stroke engine cycles. 2-stroke engines use timing and an absolute minimum of parts to work their magic—almost genius-level. On the flip side, 4-stroke engines give me the impression of a teacher's pet, where everything is strictly controlled by design. I thoroughly cleaned this area with parts cleaner as well.
Also, regarding the thick gasket under the metering diaphragm: it has quite a bit of height and is responsible for holding the volume of accumulated gasoline. However, this part wasn't installed when I was given the engine, so I left it out during my previous overhaul. But I suddenly found it among the leftover bits of a Walbro carburetor overhaul kit and thought, "This might be the cause," so I decided to install it anyway. The mechanic who previously worked on it probably just forgot to put it in.
The Results of the Carburetor Overhaul
In the end, nothing changed... It started once during this attempt, but thinking back, that was probably just because I sprayed parts cleaner directly into the cylinder and that caused it to fire—which has always been my pattern. And when I tried to start it the next day? It wouldn't fire even once, as if it were seriously refusing to work.
Pinpointing the Issue and Getting the Engine Running Smoothly on the First Pull
Finally, I figured out the cause: the air-fuel mixture.

For another project right before the carburetor overhaul, I had replaced all the rusty screws from letting it sit for a year.
Restoring and Cleaning Up a Neglected Engine
The engine on my brush cutter was left sitting and got so rusty and dirty that I finally decided to clean it up, remove the rust, and replace the screws. The t…

The screws on top of the carburetor were in terrible shape too, as shown in the photo, so I removed and replaced them. I also pulled out the middle screw, though I wasn't really sure what it was. Turns out it was the carburetor needle—the fuel adjustment screw. Since it couldn't be replaced, I soaked it in 556 penetrating oil to remove the rust. But because I didn't know it was the mixture adjustment screw when I unscrewed it, I had no idea what its original position was.
Whenever I looked it up, most sites said, "Basically, don't touch this." The only helpful guide I found on YouTube suggested turning it out 1 + 1/4 turns. So, I used that as my baseline setting. But since it still wouldn't ignite on its own—only firing when I sprayed parts cleaner into it—it meant fuel still wasn't reaching the engine; it was running too lean. The fact that it would run for a bit once started with parts cleaner made me think: maybe fuel flowed fine when the engine was spinning fast? Combined with that thought, I suddenly remembered the mixture screw.
Thinking, "It's probably starved for fuel, let's make the mixture richer!", I turned it another full rotation counter-clockwise (to open it up). That brought the total to—2 + 1/4 turns out from fully seated.With the choke closed, I pulled the recoil cord, and...It started on the very first pull!Come to think of it, I don't think I've ever managed to start it without relying on parts cleaner since I first got it. I was beyond thrilled. I left it overnight, and the next day it started right up on the first pull without even needing the choke (P.S.: because the mixture is currently on the rich side). I'll dial in the exact air-fuel mixture later out by a riverbank or in the mountains where I can make some noise.
I had no idea what position the mixture screw was in when I received the engine, and during my last overhaul, I hadn't touched that part because I didn't realize what it did. Looking back, the symptoms hadn't changed at all since I got it, and I was originally told the engine would stall at high RPMs. So, it was likely running way too lean even before I got it, making it hard to start and starving for fuel whenever it tried to rev high.
Experience really is the best teacher. Now that I've gone through the whole process with this engine, I feel like I could diagnose and fix any symptom thrown my way quickly and efficiently.

