Replacing Stubborn Screws Near the Carburetor
 Admin
Removing a Stuck Screw on the Carburetor-to-Engine Connector

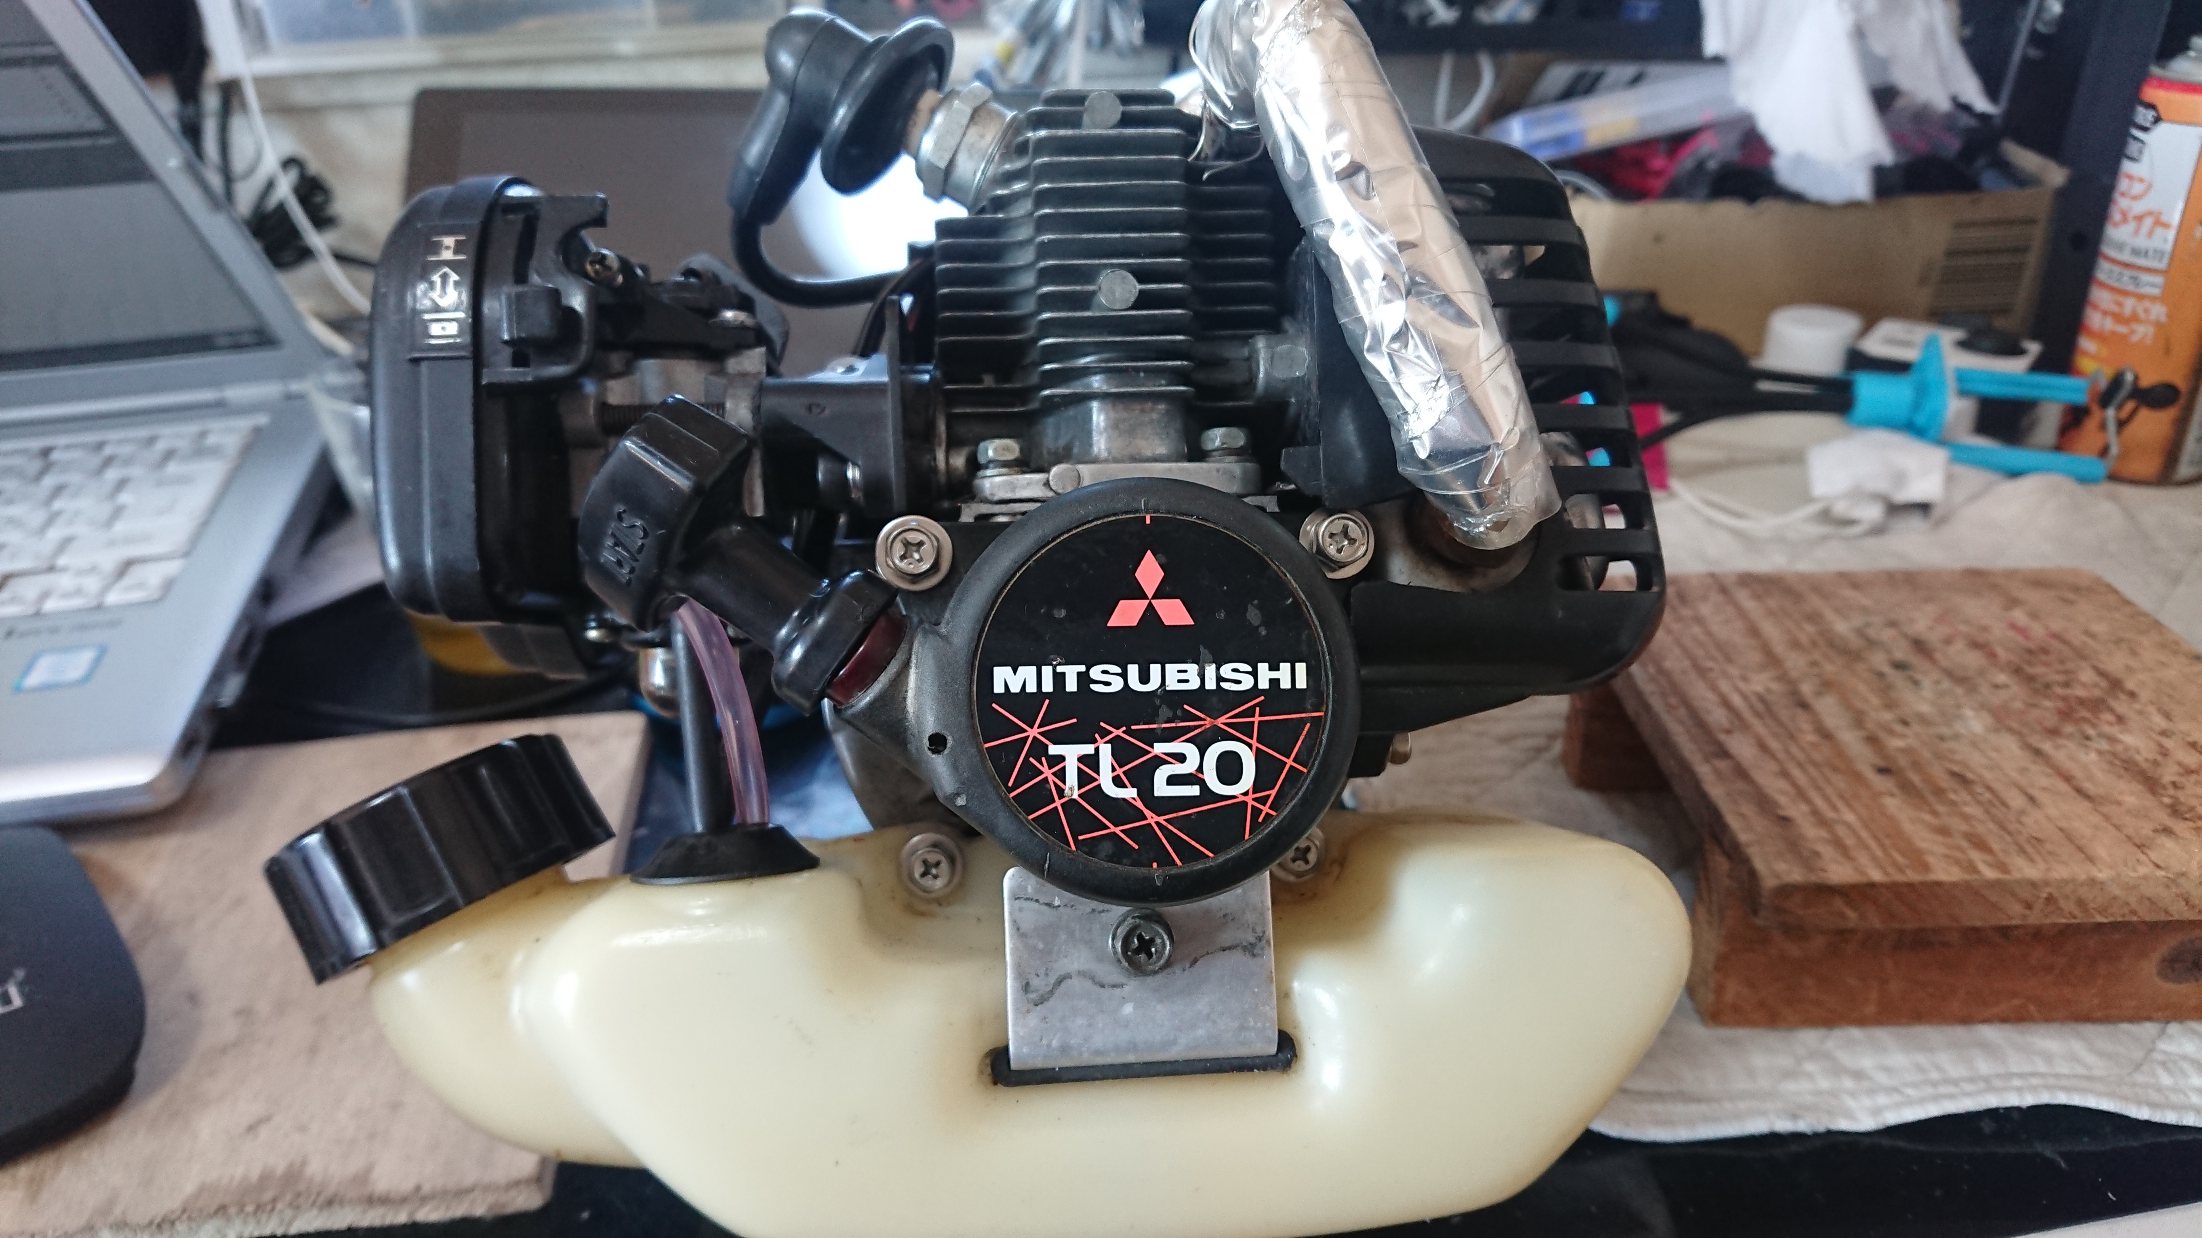
This particular screw has been rusted and seized in place for a while, and it's just a standard Phillips head. Looking over the engine, Phillips screws are generally used for plastic parts, while metal parts use combination screws (Phillips heads with integrated hex nuts). This specific part right before the engine intake is made of plastic, apparently chosen to prevent heat from transferring to the carburetor. Apart from new technologies like scavenging, most brush cutter engines share the exact same structure and parts, so this is true across the board.
The tapped threads inside this plastic part—which hold the screws securing both the carburetor and air cleaner—were completely stripped out. It might have been like that for a while, or maybe I just over-tightened it while repeatedly removing the carb without paying attention to the plastic threading. One option would be to step up to a larger screw size, but I'd rather avoid adding another tool size to my kit. I could probably deepen the hole without going all the way through, but to ensure a solid grip, I want to drill it right through. My plan is to tap new threads just past the old ones. To do that, I need to remove this component entirely—and since I'm already cleaning up all the hardware, I want to replace this screw too.
I've also been daydreaming about whether adding something like a reed valve here could improve efficiency and fuel economy. When I think of 2-strokes, I always picture reed valves, which originated from Yamaha's musical instrument technology. I love tracing the train of thought of the engineers from that era.
My tool of choice for the job is a screw extractor. Since I used to tinker with old cars, I've got most of these tools on hand and plenty of experience, so I was feeling pretty confident!

It’s been a while (maybe 20 years?) since I last used an extractor, and having forgotten the feel of it—plus rushing in without looking anything up—I initially just ended up widening the screw hole without the bit biting in at all. But once I re-drilled the hole to the proper size for the extractor, it backed right out. You really don't know these things until you experience them firsthand, and if you don't keep doing it, you forget. After that, I drilled deeper into both spots and cut new threads as usual. Tapping threads into plastic is an absolute breeze.

Successfully replaced with brand-new stainless steel screws.
Combination screws (Phillips + hex) are the ultimate luxury because you can use either tool for easy maintenance—you can easily use a screwdriver, and if it's stuck, switch to a wrench. However, because of the ribs running alongside the screw on the plastic parts, there wasn't enough clearance to get a wrench in there, so I opted for socket head cap screws instead. Using too many different fastener types requires a bunch of different tools and makes maintenance a headache, but socket heads allow you to apply way more torque than a Phillips head, so preventing future seizures took priority here.
The screw to the left, which secures the carburetor system to the air cleaner—the very one where I just tapped the new internal threads for this project—uses the same type of socket head, just the longest one available. Originally, the threaded portion of this bolt was exposed and tended to collect grime, but since the threads only cover the front half, it leaves a clean stainless steel shaft that's so much easier to maintain!
Alright, this engine is looking even more rugged and handsome now!

